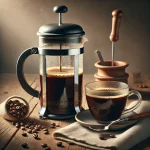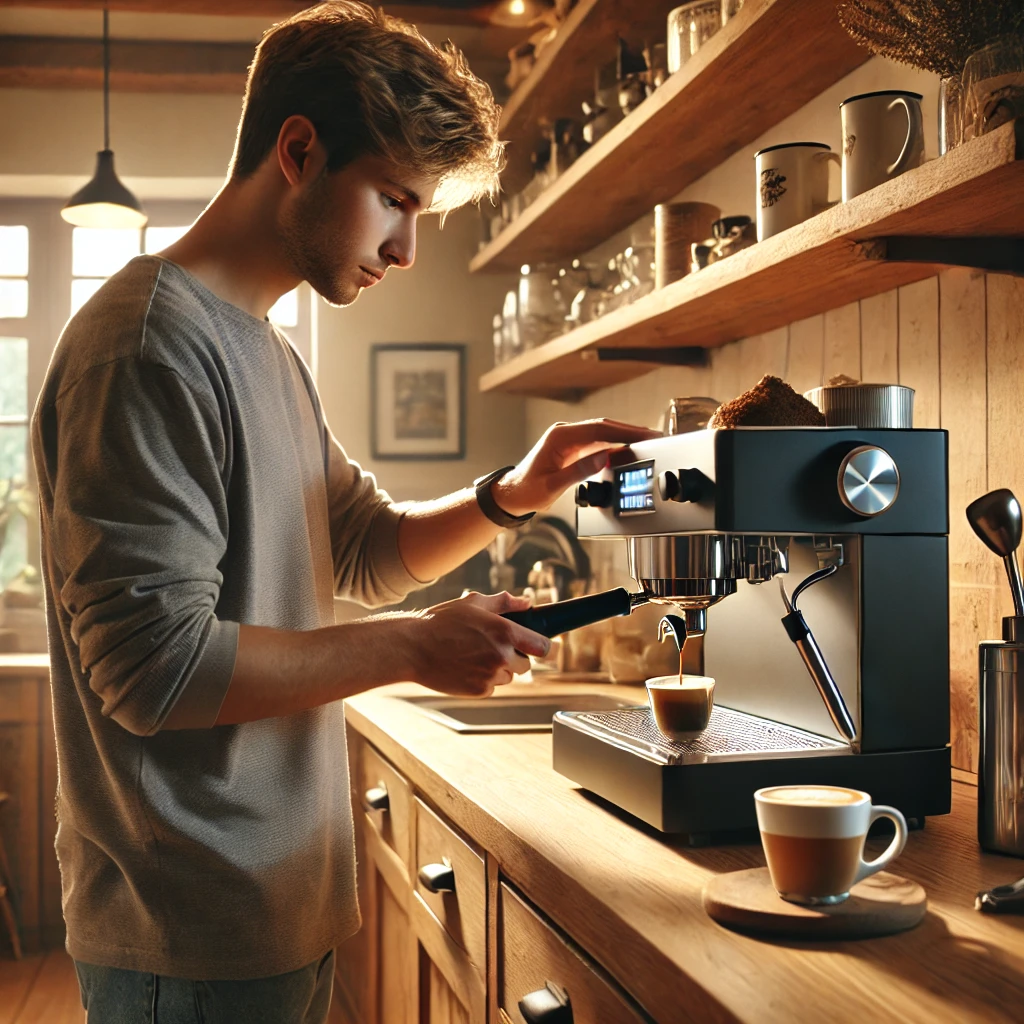
Espresso has a reputation for being complicated, but it doesn’t have to be. With the right gear, a simple recipe, and a bit of practice, you can enjoy rich, café-quality espresso without leaving your kitchen. This beginner’s guide will walk you through everything you need to know to start making espresso at home with confidence.
What Is Espresso?
Espresso is a small, concentrated shot of coffee brewed under pressure. It’s the foundation for drinks like cappuccinos, lattes, and flat whites. What sets it apart from drip or French press coffee is the pressure brewing process—hot water is forced through finely ground coffee at around 9 bars of pressure, creating a rich shot with crema on top.
The Baseline Espresso Recipe
Start with this simple “golden rule” recipe. Once you’ve mastered it, you can experiment.
- Coffee dose: 18 g finely ground coffee
- Yield: 36 g espresso (≈2 oz double shot)
- Brew time: 25–35 seconds
- Water temperature: 92–94°C
This is called a 1:2 brew ratio (coffee in → espresso out). It gives a balanced flavor with good body and sweetness.
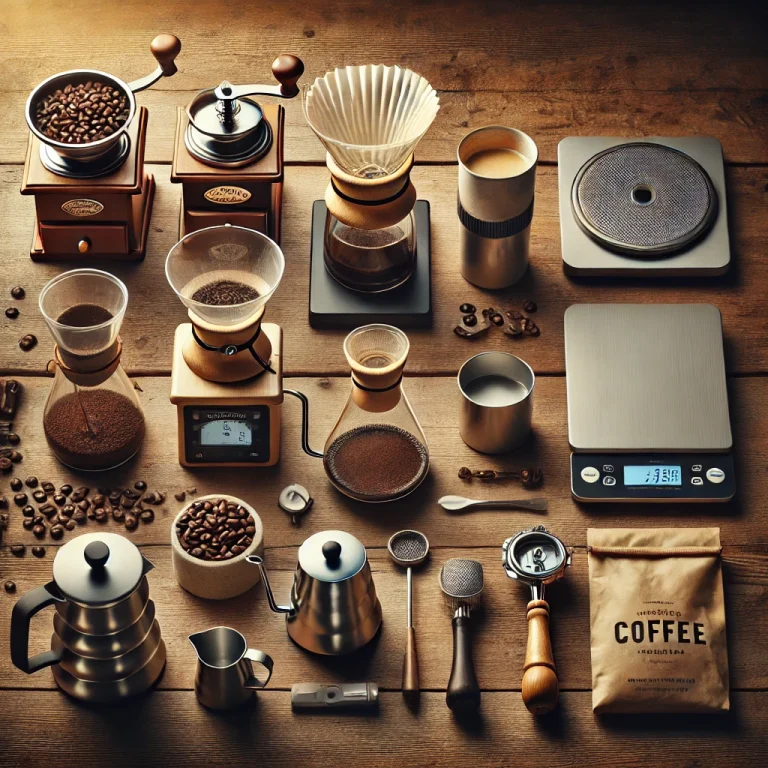
Essential Gear for Beginners
- Espresso Machine (Budget-Friendly Options)
- Pressurised basket machines (~£100–150) are perfect for beginners, forgiving with grind size.
- Manual espresso makers (like the Flair Neo) give more control at a lower price point.
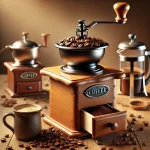
- Grinder (The Most Important Tool)
- Burr grinders are essential for consistent espresso. Blade grinders won’t cut it.
- If your grinder can’t grind fine enough, buy pre-ground espresso to start—but upgrade ASAP.
- Tamper
- A solid, flat tamper helps compress the grounds evenly for balanced extraction.
- Scale (with Timer)
- Accuracy matters. A simple digital scale ensures correct ratios.
- Milk Jug & Frother (Optional)
- For cappuccinos and lattes, you’ll need a way to steam or froth milk.
Step-by-Step Espresso Workflow
- Preheat your machine and portafilter (run hot water through).
- Grind 18 g coffee (fine, table-salt texture).
- Distribute grounds evenly and tamp firmly with even pressure.
- Lock portafilter into the machine.
- Start extraction—timer begins as soon as water flows.
- Stop when yield reaches 36 g (≈25–35 seconds).
Tip: Small adjustments make big differences. Change one variable at a time.
Troubleshooting Common Problems
| Problem | Likely Cause | Quick Fix |
|---|---|---|
| Sour, thin shot | Grind too coarse, under-extracted | Grind finer, increase brew time |
| Bitter, harsh shot | Grind too fine, over-extracted | Grind coarser, shorten brew time |
| Uneven flow (channeling) | Poor tamp/distribution | Tamp evenly, level coffee bed |
| No crema | Old beans, stale coffee | Use fresher beans, check machine pressure |
Beginner-Friendly Milk Drinks
Once you’ve mastered straight espresso, try these classics:
- Cappuccino: 1/3 espresso, 1/3 steamed milk, 1/3 foam.
- Latte: 1–2 shots espresso, topped with steamed milk, light foam.
- Flat White: Similar to latte but with less milk and thinner microfoam.
Pro Tip: Purge your steam wand before and after frothing. Aim for silky microfoam, not big bubbles.
FAQs
Q: Can I make espresso without an espresso machine?
You can use a moka pot or AeroPress for espresso-style coffee, but it won’t be true espresso since it lacks full pressure.
Q: What beans work best?
Medium or medium-dark roasts are most forgiving and taste great with milk drinks.
Q: Do I need an expensive machine to start?
No—start with a budget-friendly pressurised basket machine and upgrade as you grow.
Final Thoughts
Espresso at home is about patience and practice, not perfection. Begin with the simple recipe (18 g in → 36 g out, 25–35 seconds), learn how grind size and time affect flavor, and build your skills step by step. With consistency and fresh beans, your kitchen can easily rival your local café.